
Picture this: you’re deep in the Fanes-Sennes-Braies Nature Park, hours from the valley floor, and a hot spot on your heel starts to burn. By the time you reach Rifugio Fodara Vedla, that untreated blister has become a blood pocket that turns a multi-day traverse into a painful hobble to the nearest road.
I’ve been that person – early days, before I knew better.
So when people ask what they should pack in their first aid kit for Dolomites hiking, my answer isn’t a tidy list from a generic outdoor gear site. It’s built from hiking across these peaks and experiencing and seeing exactly which problems send hikers off-trail early. Spoiler: it’s almost never the dramatic stuff. It’s blisters, sunburn, and a twisted ankle that nobody saw coming.
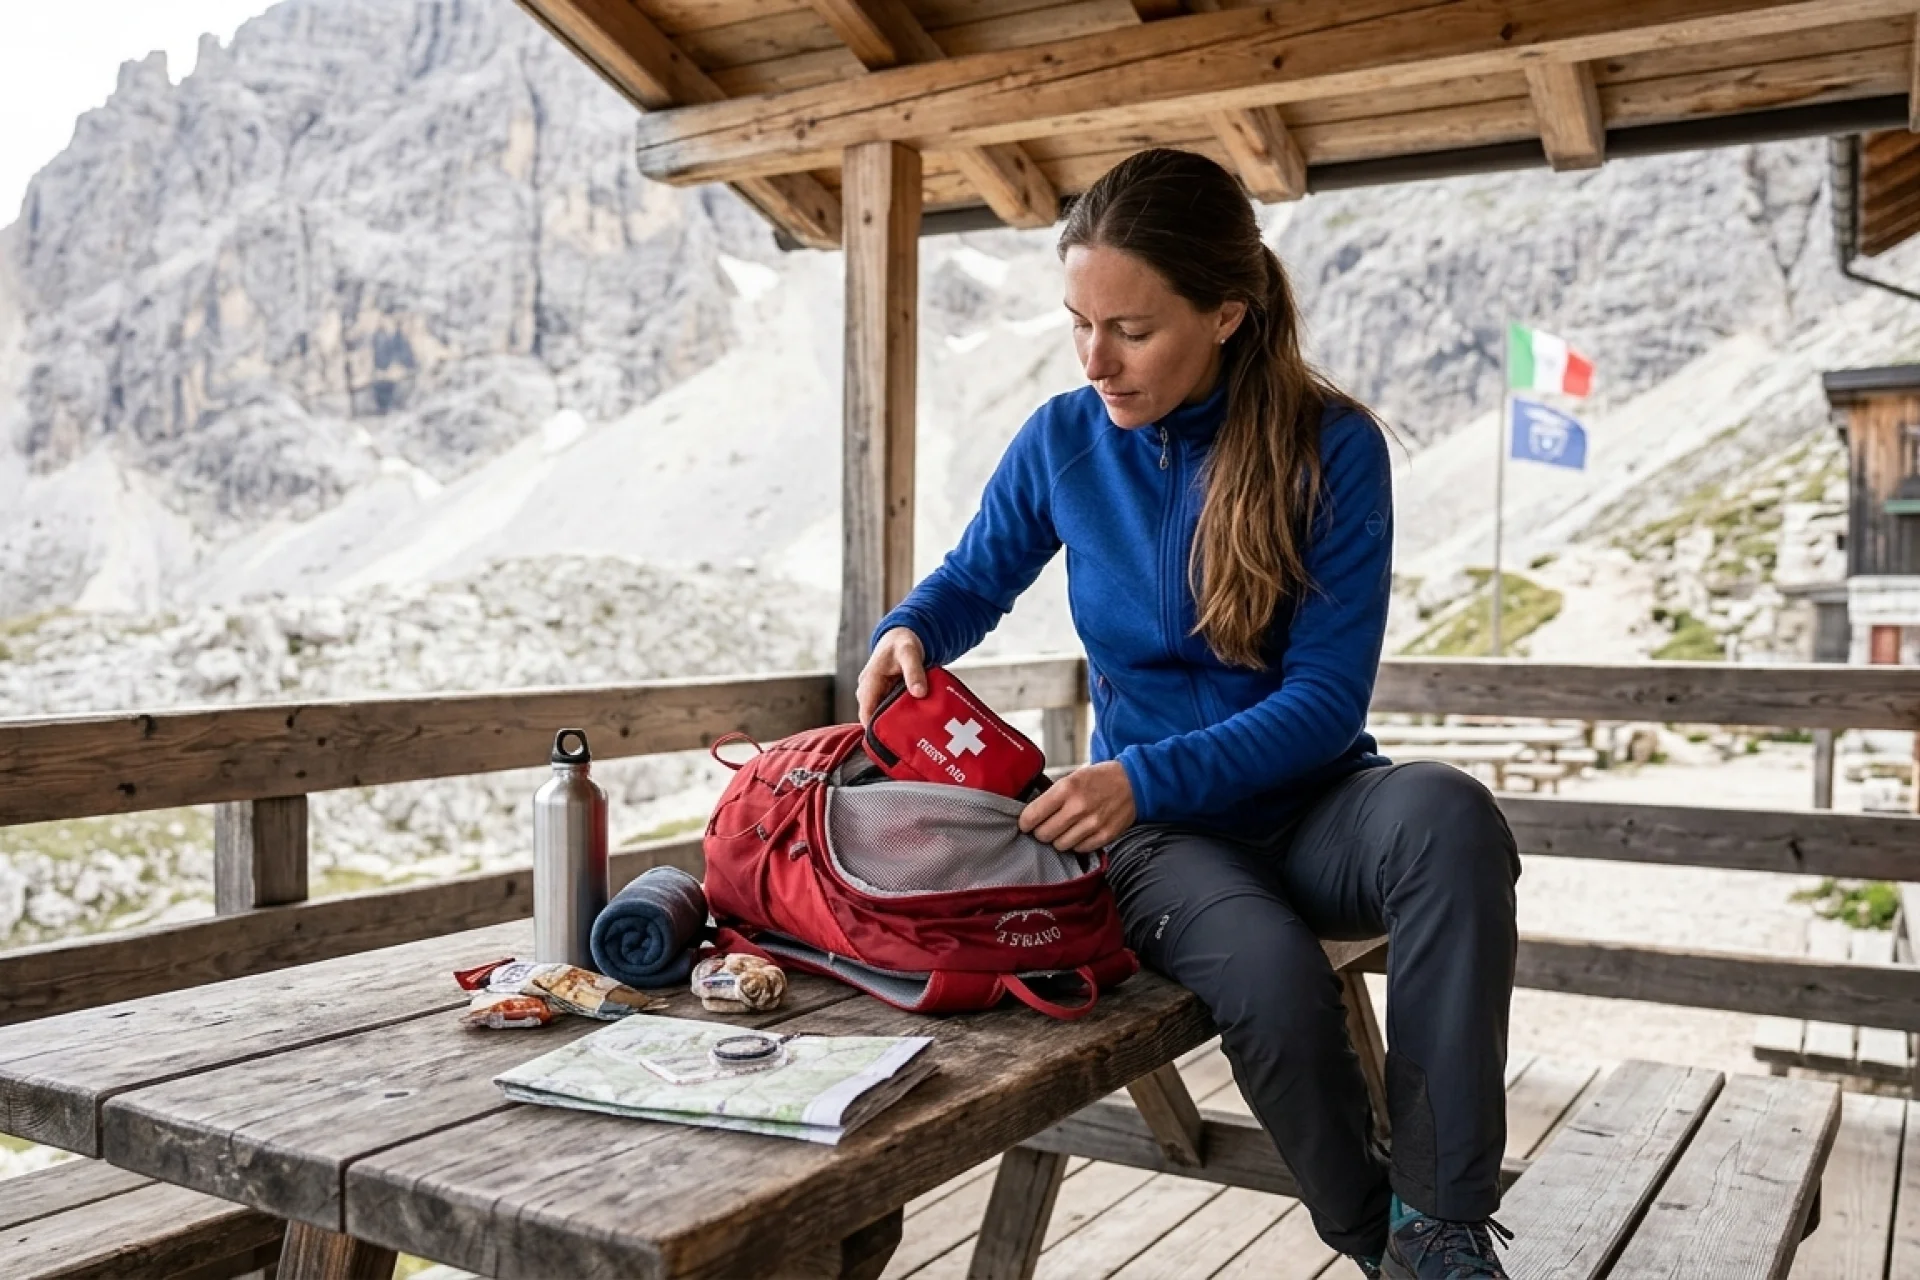
You don’t need a trauma bag. You need a kit that keeps small problems small, long enough to reach a rifugio or the valley floor — and the intel to use it properly when you’re miles from help. If you’re putting together a broader trip plan, the complete Dolomites hiking guide covers trail selection, difficulty levels, and logistics.
Here’s how to build the kit.
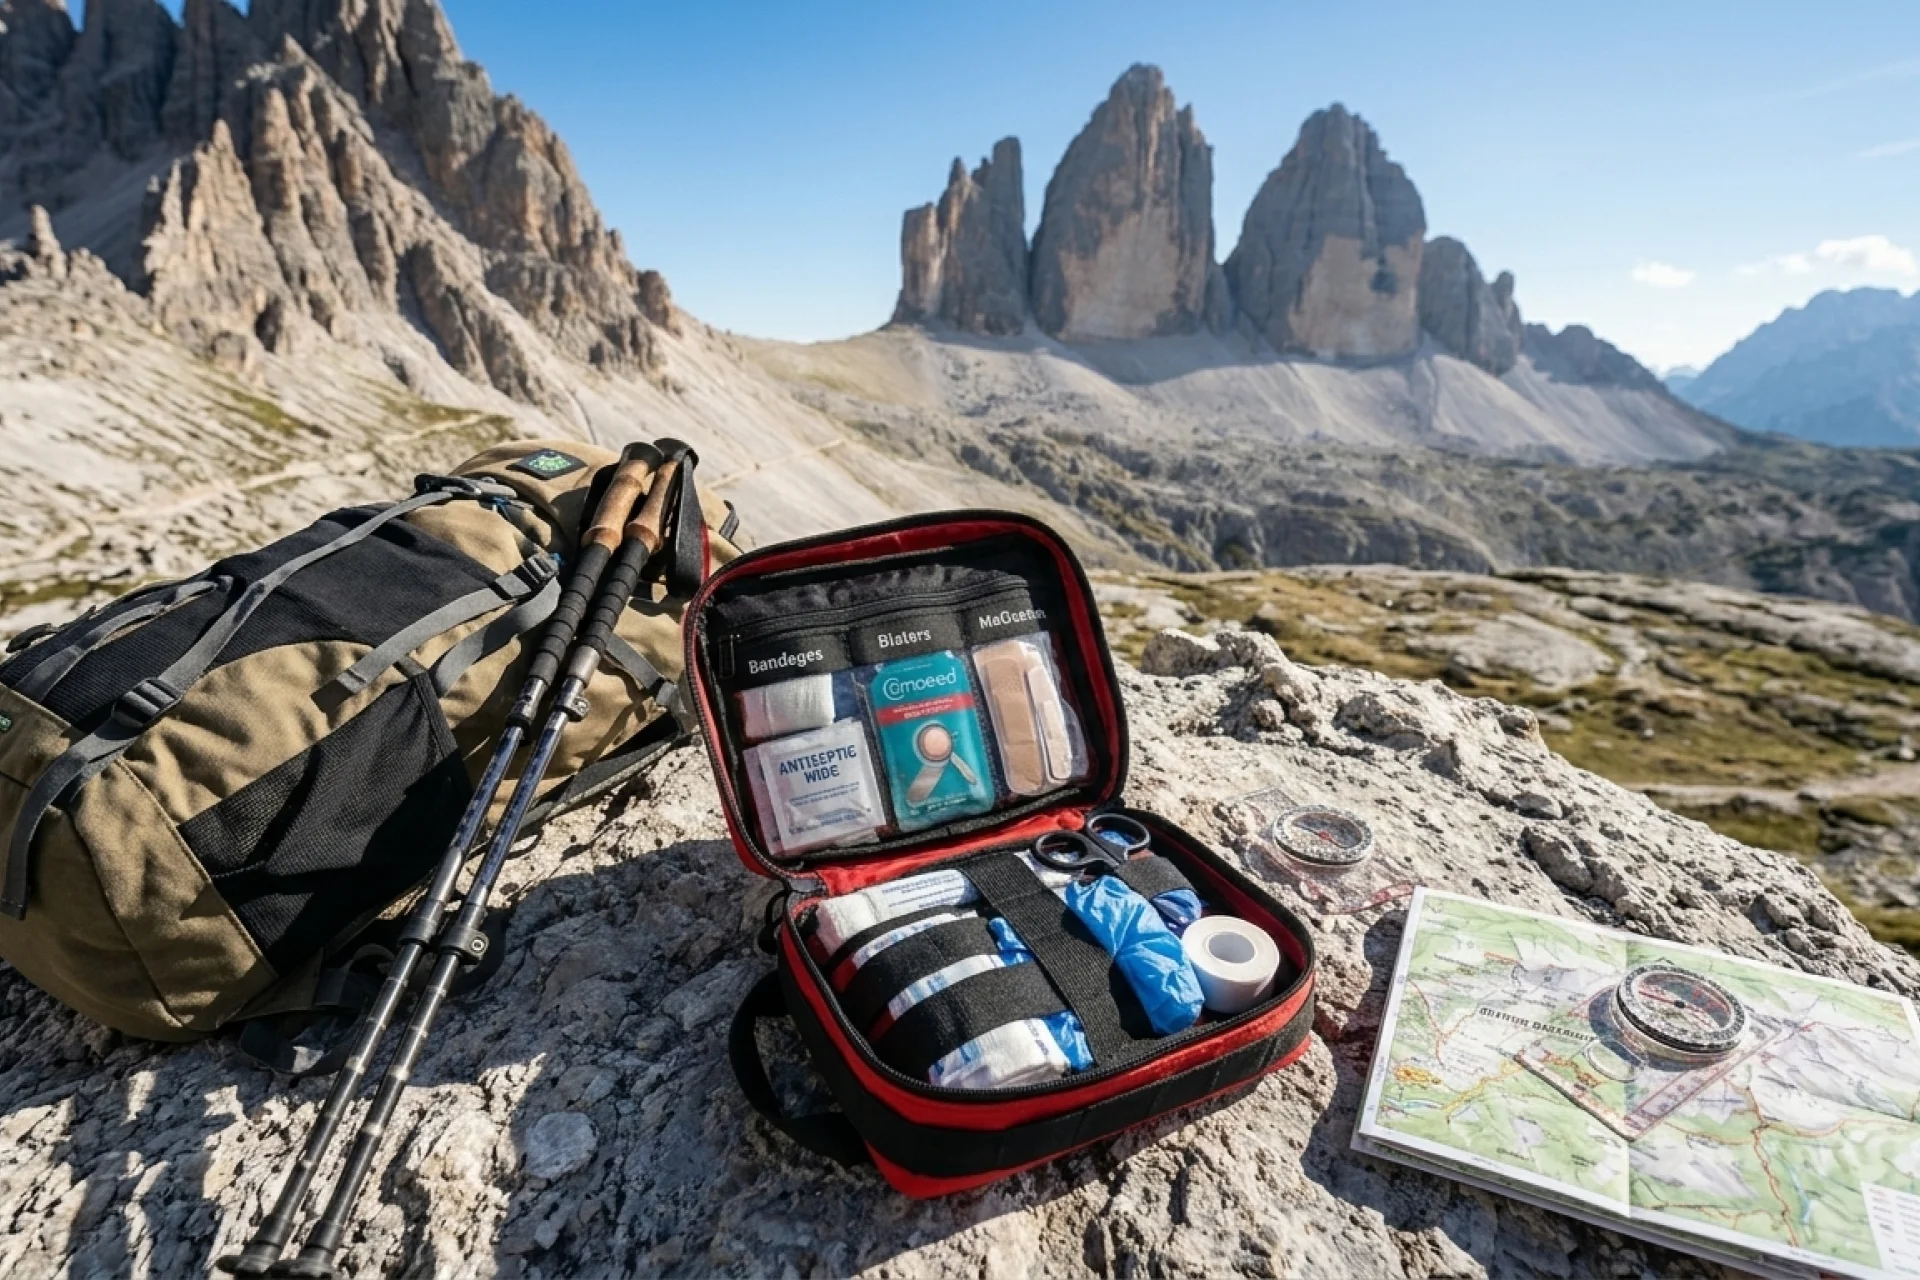
The Short Answer: What Goes in a Dolomites First Aid Kit
Before the full breakdown, here’s the complete kit at a glance. Everything below this list is the why and the how, which matters as much as what you carry.
Foot & Blister Care
- Hydrocolloid plasters (Compeed or equivalent)
- Moleskin padding
- Zinc oxide tape
- Small scissors + alcohol wipes
Wound Care
- Antiseptic wipes (single-use)
- Sterile gauze pads + one small gauze roll
- Non-adherent dressings
- Mixed adhesive bandages
- Closure strips or butterfly closures
- Medical tape (small roll)
Sun & Heat Protection
- SPF 30–50+ sunscreen + reapplication stick
- SPF lip balm
- UV-protective sunglasses
- Aloe sachet or burn gel (optional)
Personal Medications
- Prescriptions in original packaging (plus a 2-day buffer)
- Ibuprofen and paracetamol
- Antacids + anti-diarrheals
- Electrolyte sachets
- Epinephrine auto-injector if prescribed
Allergy & Bites
- Non-drowsy antihistamine
- Hydrocortisone or anti-itch cream
- Tick remover + tweezers
Emergency & Stabilization
- Emergency foil blanket or compact bivvy
- Headlamp
- Nitrile gloves
- Small whistle
- Elastic or cohesive wrap
- 2 safety pins

Foot Care: The Section That Will Actually Save Your Trip
Steep vertical gains, long descents, and trail surfaces that alternate between loose scree and polished limestone – your feet take an absolute hammering in the Dolomites. In my experience here, blisters are the single most common reason self-guided hikers cut trips short. Not sprains. Not altitude. Blisters.
The fix is embarrassingly simple: treat hot spots the moment they tingle. Don’t wait until the skin breaks.
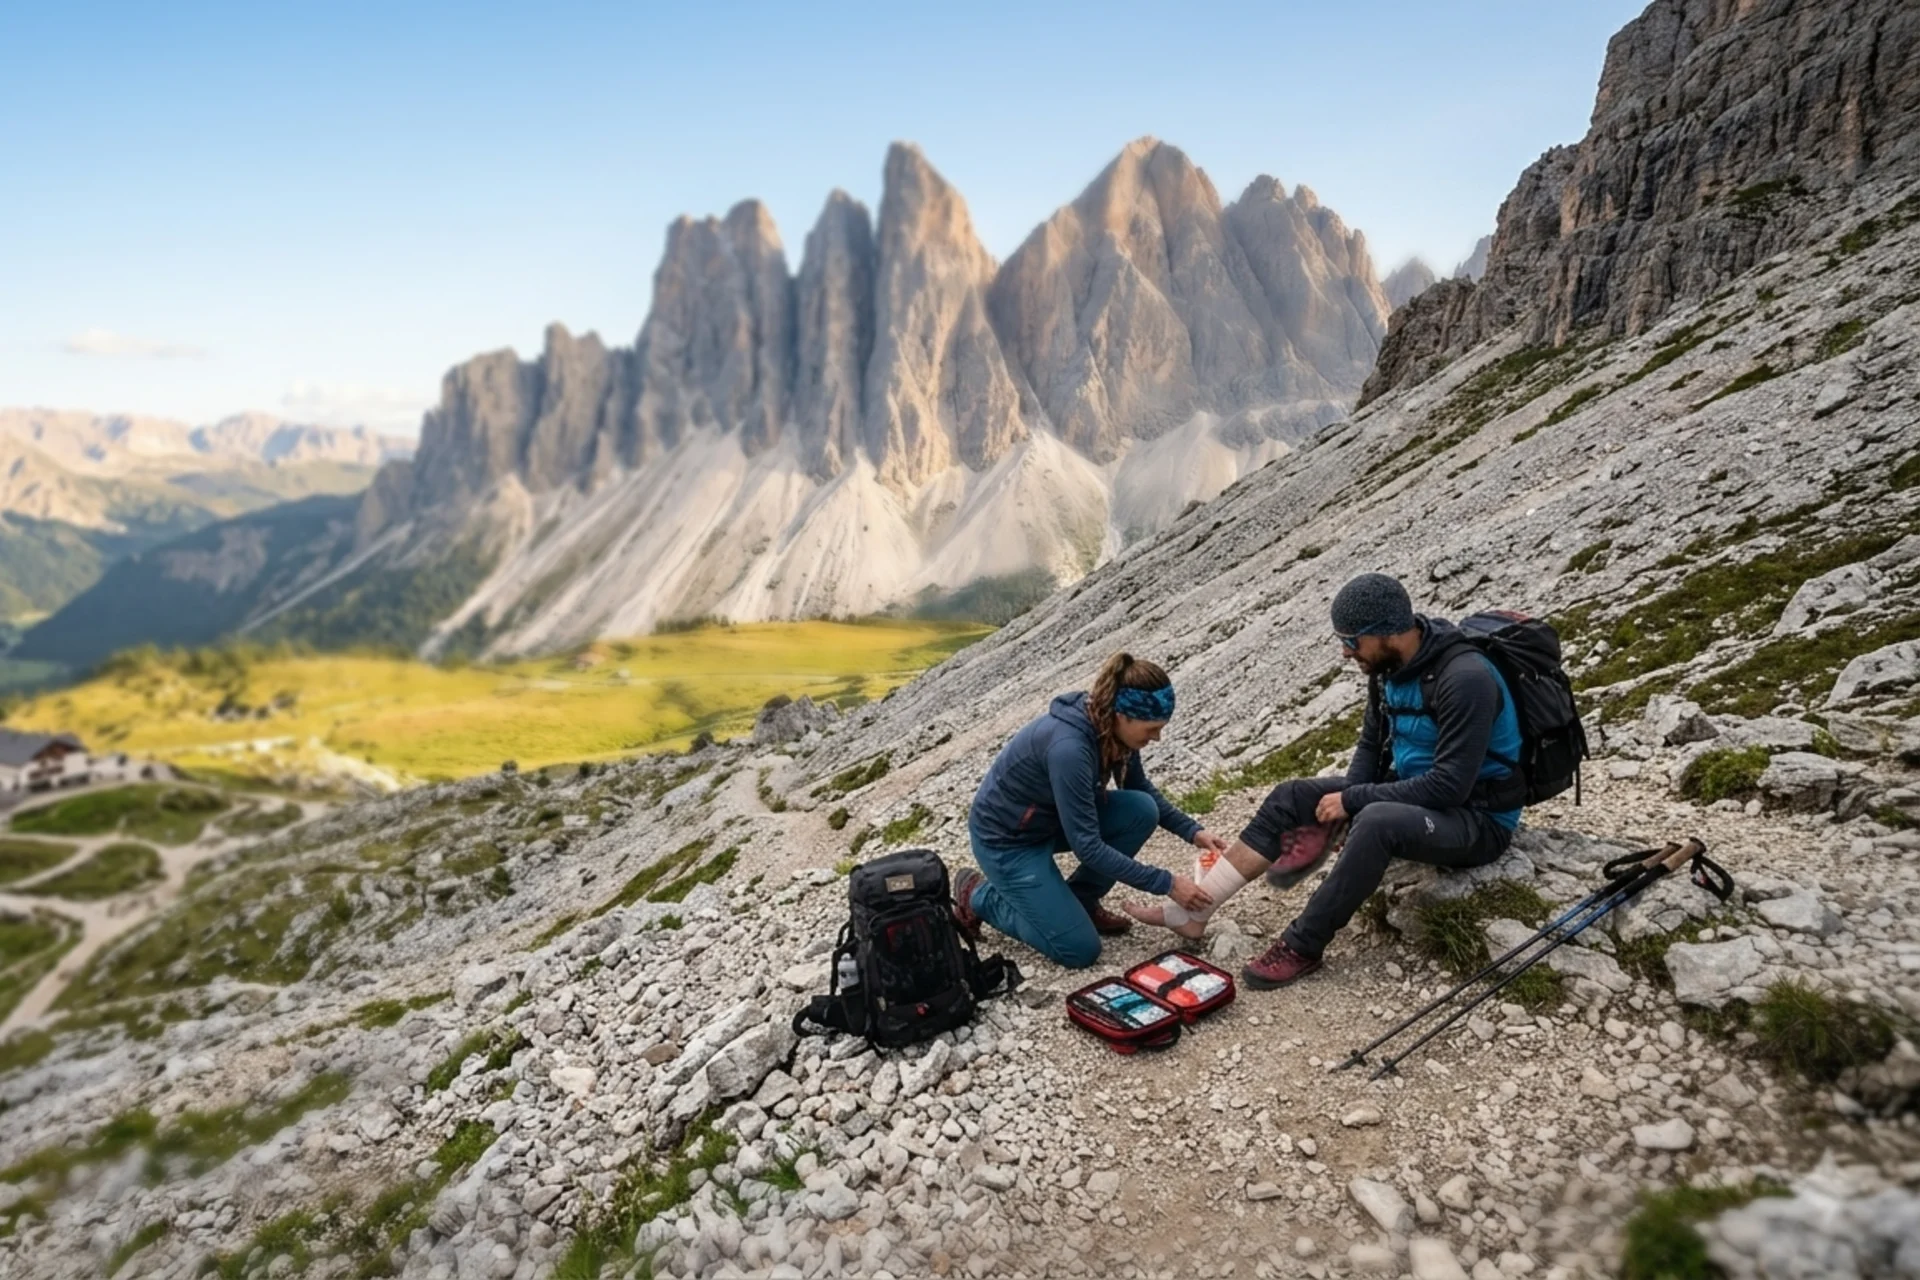
What to carry:
- Hydrocolloid plasters: (Compeed is the standard) for active blisters, these create a moist healing environment and cushion the wound simultaneously
- Moleskin: for padding around hot spots before they become blisters; cut a donut shape and place it around the sore spot to redirect pressure
- Zinc oxide tape: stronger adhesion than standard medical tape, holds up better against sweat; this is the tape you want for securing dressings on long days
- Small scissors and alcohol wipes: Small scissors and alcohol wipes – use these to clean sweat and oils from the skin around the hot spot so your tape or plaster actually sticks (never use alcohol inside an open blister or wound)
Pro Tip: On multi-day rifugio treks, pack double what you think you need for foot care. Sweat, mountain streams, and altitude-dry air eat through tape faster than you’d expect.
Wound Care: Managing Scrapes on Sharp Rock
Falls on loose scree happen. Via ferrata sections scrape knuckles against stone. A stumble on a wet trail can open a clean gash on sharp limestone. None of these needs to end your day – but they will if you don’t clean them properly.
Rock dust, sunscreen, and sweat combine into a gritty sludge inside any open wound. Infection risk rises fast when you’re sweating for 6 hours a day and sleeping in shared rifugio dormitories (and not all have showers). Thorough cleaning matters more than whatever you put on top.
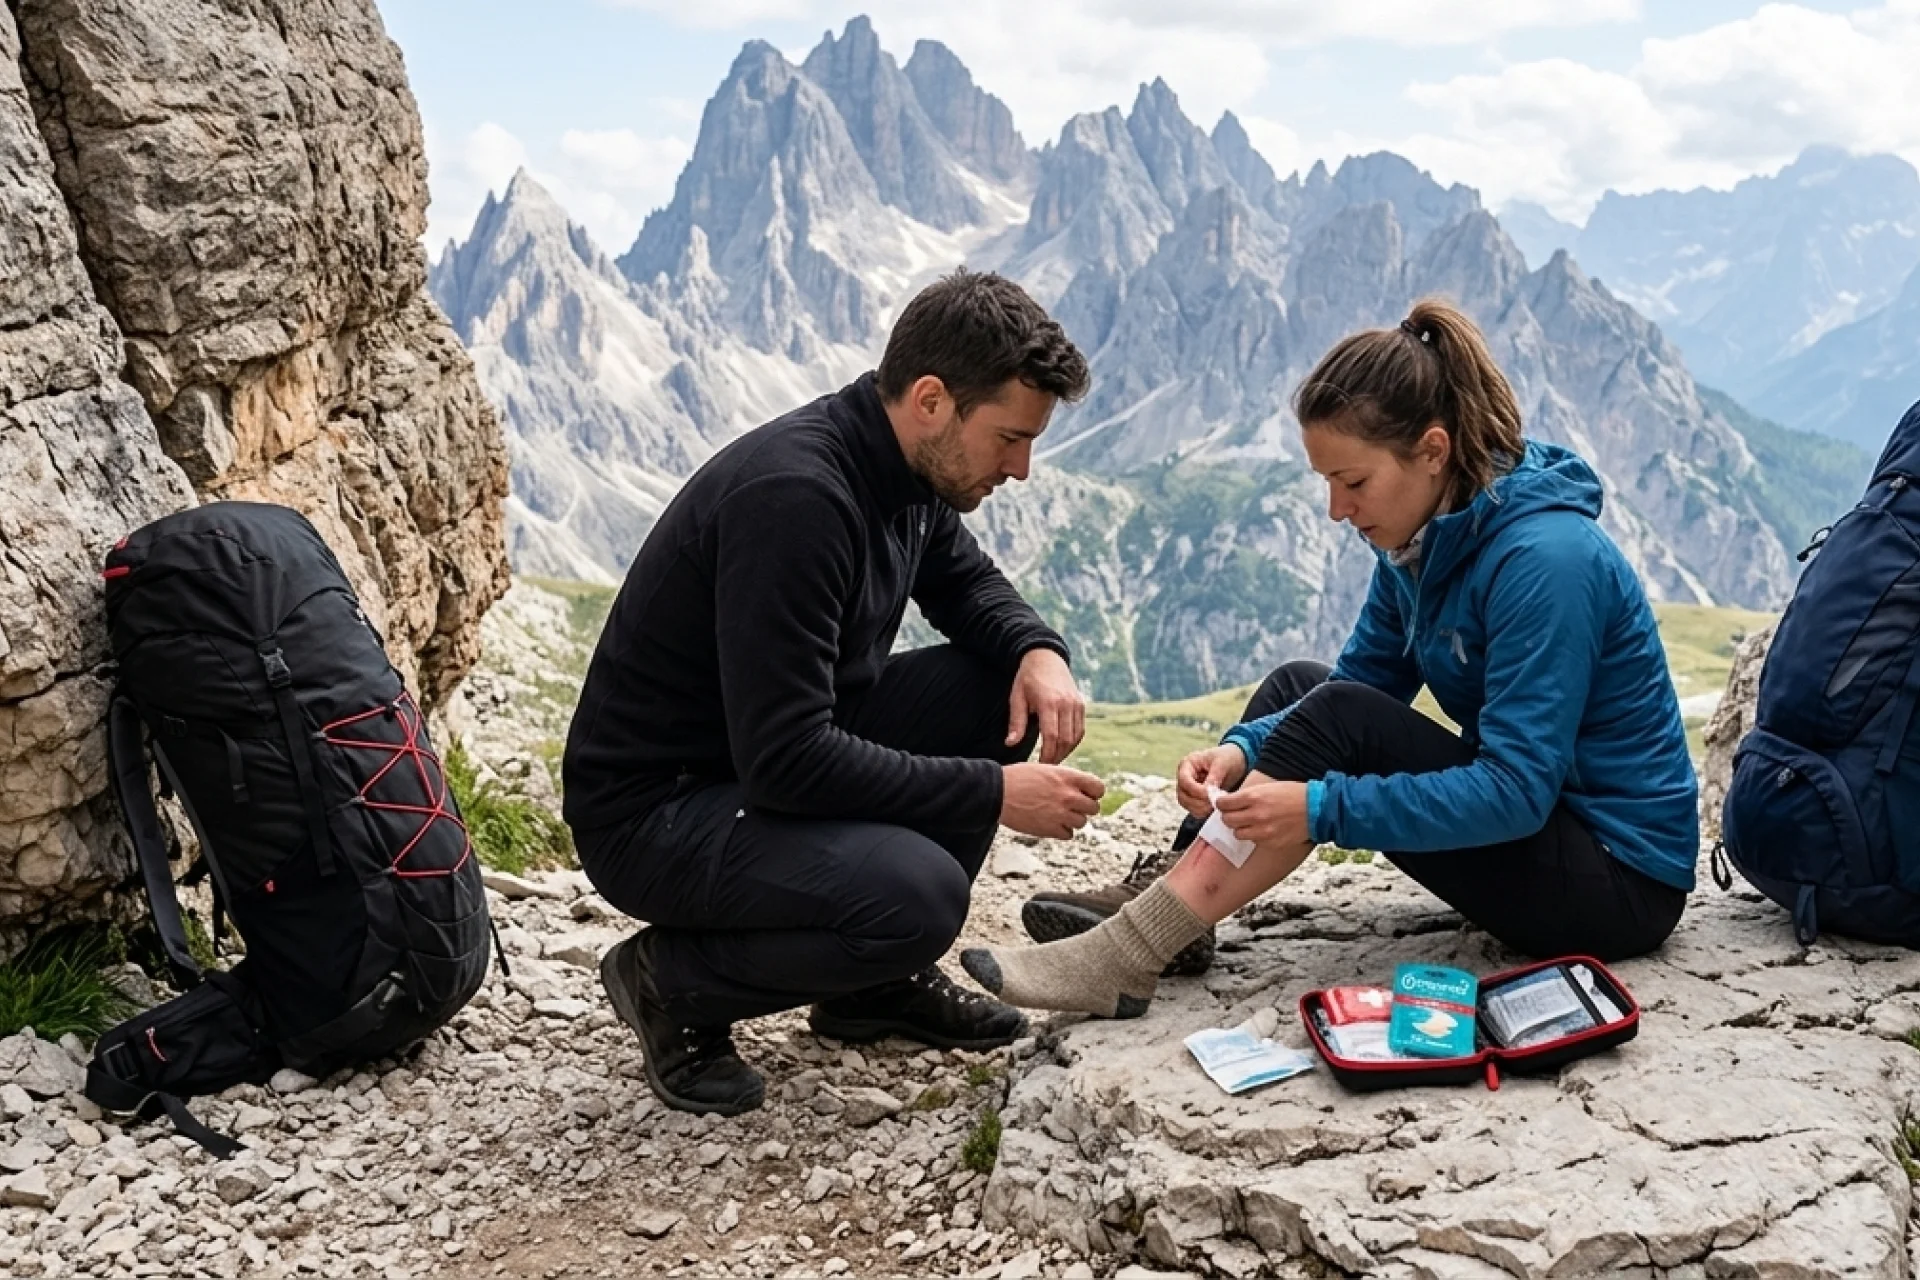
What to carry:
- Antiseptic wipes (single-use packets — lighter than a bottle)
- Sterile gauze pads and one small gauze roll
- Non-adherent dressings for larger abrasions (stick-to-wound dressings are miserable to remove)
- Mixed adhesive bandages in several sizes
- Closure strips or butterfly closures for clean cuts that need edges held together
- Small roll of medical tape
The workflow: remove debris, irrigate the wound thoroughly with clean water or saline (avoid using harsh alcohol wipes directly inside the cut as it damages tissue), apply antiseptic to the cut or scrape, dry the surrounding skin, apply a non-adherent dressing, and secure with tape or an adhesive bandage. Simple. Effective. What goes wrong is skipping the cleaning step because it stings or because the blood has mostly stopped.

UV Protection: The Risk That Catches Most Hikers Off-Guard
UV intensity increases significantly with elevation. Above 2,000m, where most of the Dolomites trail network sits, you’re burning meaningfully faster than at sea level, even on overcast days. The clouds scatter UV; they don’t block it.
A serious sunburn above the treeline isn’t just painful. It triggers dehydration and headaches that can impair your judgment.
What to carry:
- SPF 30–50+ sunscreen
- SPF lip balm — dry alpine wind accelerates chapping, sun accelerates damage
- Sunglasses with genuine UV protection, not fashion lenses
- An aloe sachet or small burn gel if you’re fair-skinned or prone to burning through sunscreen
Make a rule: reapply at every rifugio stop and at the lunch break, regardless of whether you feel hot. That’s the trap, cool mountain air masks how much UV you’re absorbing. The WHO notes that UV levels increase roughly 10% for every 1,000m of altitude – meaning at 2,000m you’re absorbing around 20% more UV than at sea level, even on overcast days.
Pairing your kit’s sun protection with the right clothing makes a real difference. What to wear hiking in the Dolomites in summer covers sun-protective layers that help reduce how much work your sunscreen has to do.

Personal Medications: The Part of Your Kit That Matters Most
A well-stocked kit built for an average hiker is dead weight if it doesn’t address your specific physiology. Your personal medications take priority over any piece of equipment on the list above.
What to carry:
- Prescriptions: Carry original labeled packaging. Pack a 2-day buffer beyond your planned route in case weather, injury, or trail conditions extend your time out
- Pain relief: Ibuprofen (anti-inflammatory, useful for joint tweaks) and paracetamol (Tachipirina in Italian pharmacies) for general pain management. Note that stronger NSAIDs often require a prescription in Italy, so it is best to pack your preferred dosage from home
- Digestive support: Rifugio cuisine is hearty – goulash, canederli, speck boards, strudel. Excellent! But if your stomach isn’t used to rich mountain food, antacids and anti-diarrheals are worth their 30 grams
- Electrolytes: More on these below, but rehydration sachets belong here too
- Prescribed epinephrine auto-injector if you carry one
Finding a pharmacy in the Dolomites: In the valley towns, look for the neon green cross sign: farmacia in Italian. Ask for Tachipirina for paracetamol. For ibuprofen, you can ask for Moment (usually 200mg) or Brufen (typically higher adult doses like 400mg).
Most valley pharmacists in tourist areas speak enough English to help. Always follow your clinician’s guidance on dosing and interactions, particularly if you’re on regular medications.
Allergy and Bite Management: Small Additions, High Value
Alpine bites and allergic reactions are rarely dramatic – until they are. These items are light, take almost no space, and provide meaningful protection when you’re hours from a valley pharmacy.
What to carry:
- Non-drowsy antihistamine — your baseline for unexpected reactions to plants, insects, or food
- Hydrocortisone or anti-itch cream for persistent localised reactions
- Tick remover tool plus regular tweezers for splinters
- Sting relief (optional) for wasp or bee encounters – both are present in the Dolomites in summer
- Prescribed epinephrine auto-injector if you carry one
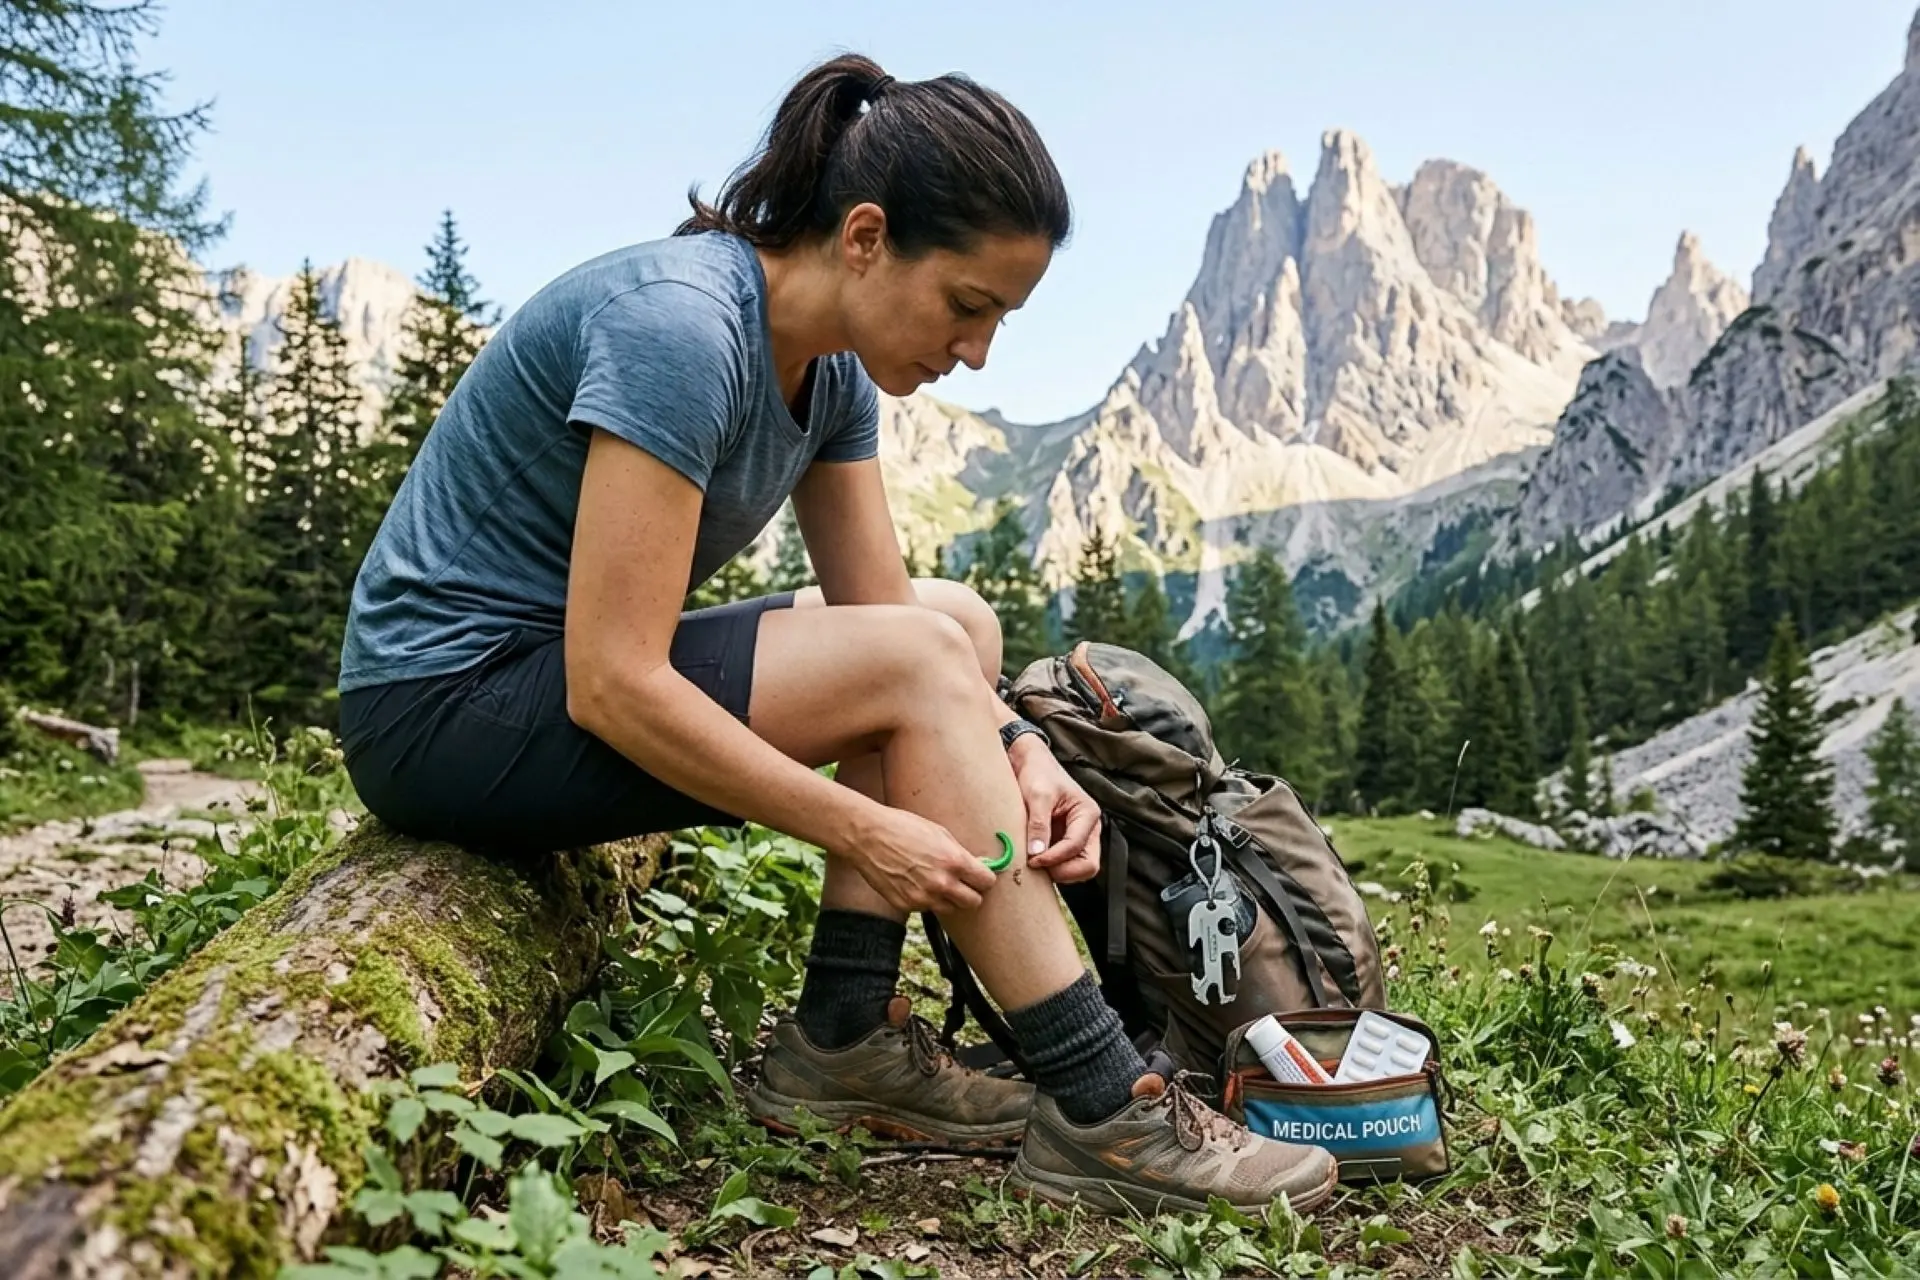
On ticks specifically: In the Dolomites, tick habitat is concentrated in lower forest zones and valley trails, with peak activity running from April through September – covering the full hiking season. While risk has traditionally been highest at lower elevations on forest approaches, warming alpine climates mean ticks are increasingly found in high-altitude grassy meadows up to 2,200m. Don’t assume you are automatically safe just because you’ve cleared the treeline.
Check during rifugio stops or after forest sections – hairline, back of knees, waistband. Remove promptly and cleanly with a tick tool rather than squeezing. The European Centre for Disease Prevention and Control tick guidance covers correct removal technique and what symptoms to monitor in the days after a bite. If you experience rapid swelling, difficulty breathing, or a racing heart after a sting or bite, call 112 immediately.
Electrolytes and Hydration: The Prevention That Most Hikers Skip
Here’s how it typically goes: steep morning climb, sweating steadily through the ascent, arrive at the top feeling fine. An hour later on the traverse, you’ve got a headache, your legs feel heavy, and you’re moving slower than you should be. Dehydration caught up with you before thirst did.
In the Dolomites, temperature swings between sheltered uphills and exposed ridgeline traverses are significant. You sweat hard, then cool rapidly on windy passes — and the cool air masks how much fluid you’re losing.
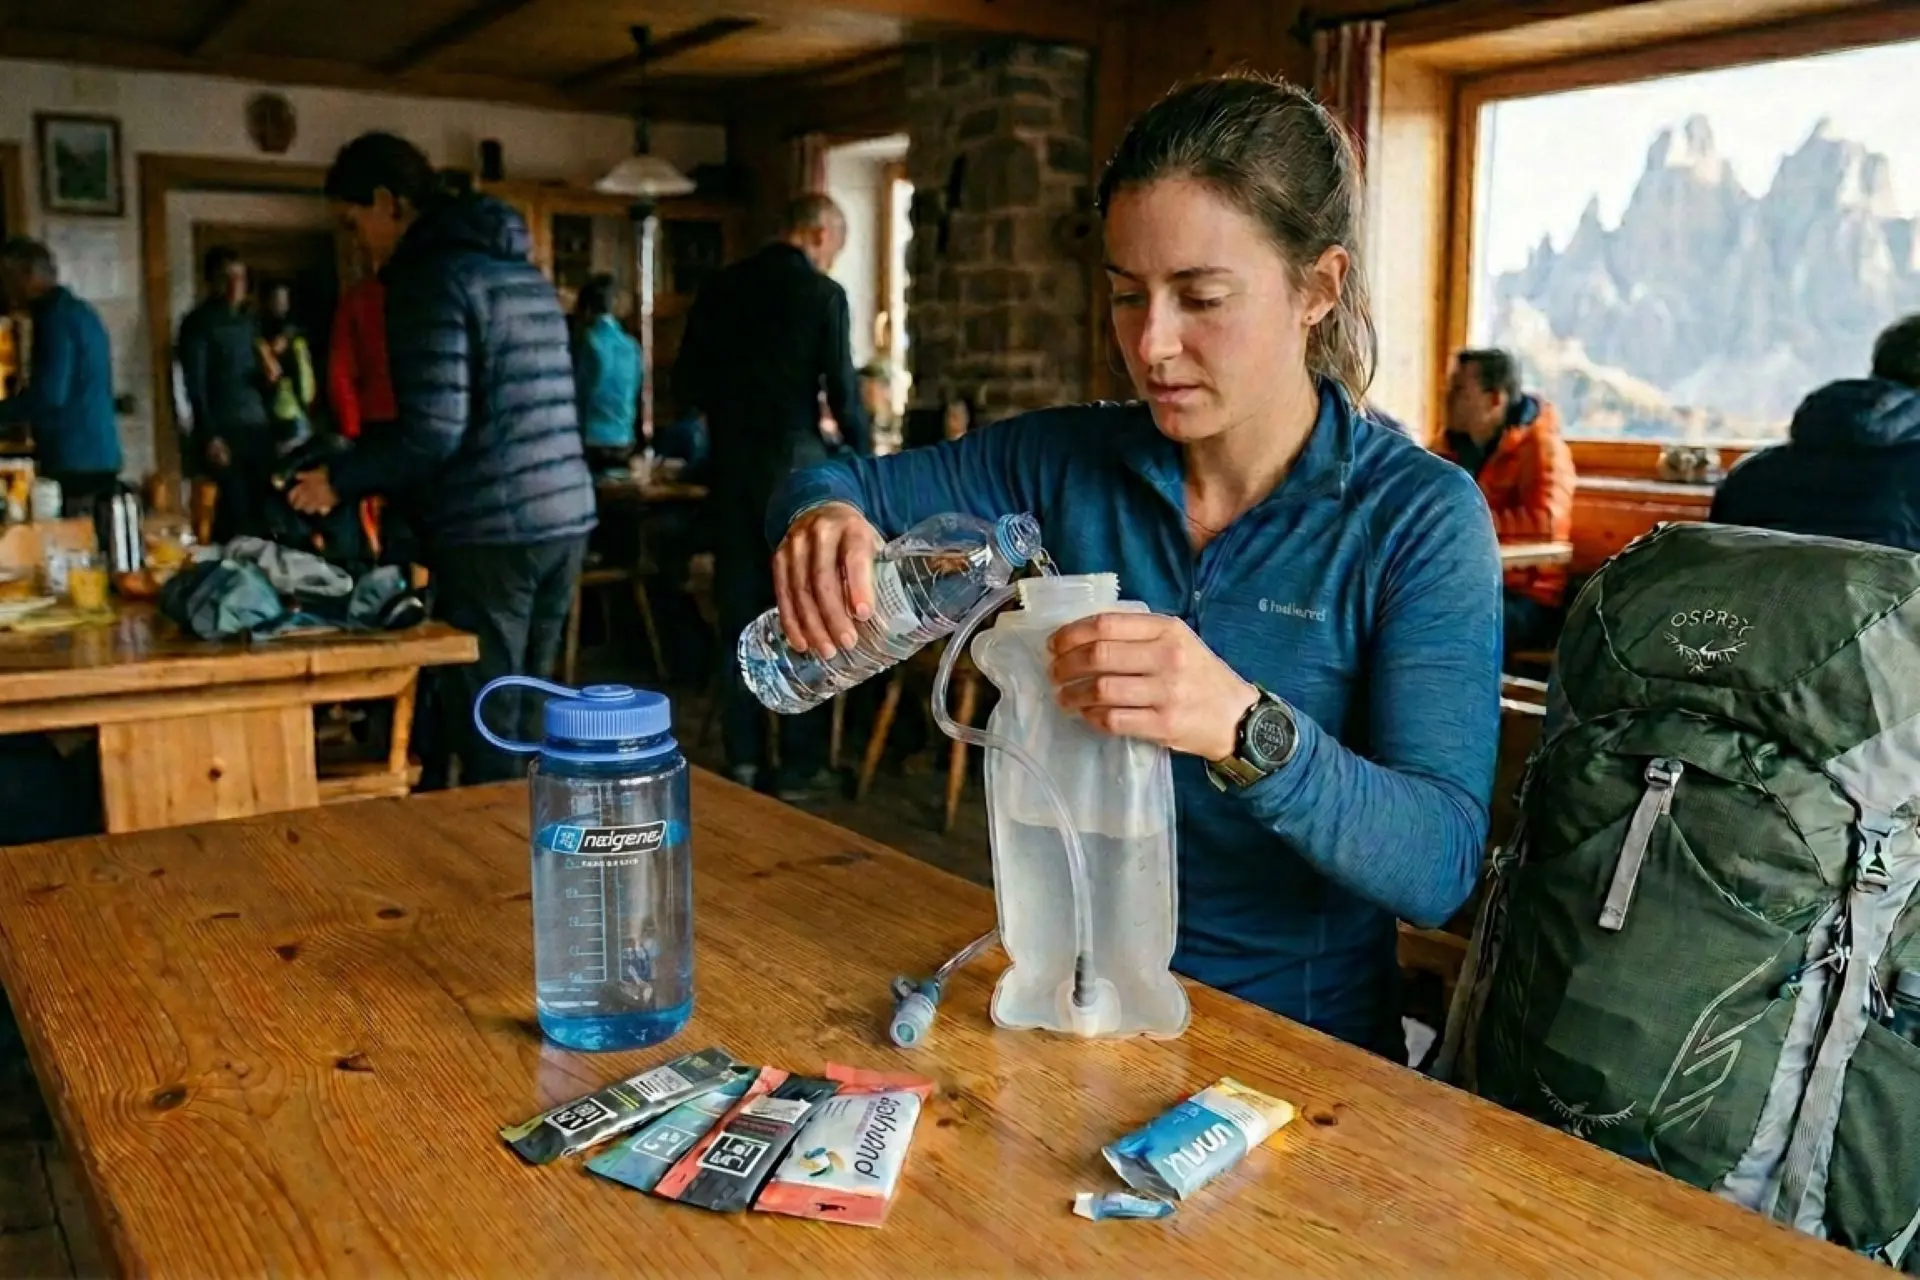
What to carry:
- Electrolyte sachets or rehydration salts: 1 to 2 doses to supplement your main water supply on heavy climbing days (consuming too many highly concentrated packets without enough plain water can upset your stomach)
- Glucose tablets or a fast-acting carbohydrate for quick energy on long climbs
- A simple symptom reference: headache + nausea + muscle cramps = stop, shade, water with electrolytes, rest before continuing
Pro Tip: Don’t assume every rifugio on your route will be open or stocked with drinks. Early season (mid-June) and late season (September) see uneven opening schedules. Carry enough to bridge the gaps between confirmed stops — a minimum of 2 litres of water capacity per person, with electrolyte sachets to supplement. The full rifugio booking guide has a useful section on seasonal opening patterns.
This is one of the logistics challenges our Lake Sorapis & Tre Cime Hut-to-Hut and Val di Fassa Six Peaks itineraries handle for you — suggested stops for food and water, or we tell you which days you need a packed lunch…and obviously extra water.
Joint Stabilization: Managing the Descent Problem
Most hiking injuries in the Dolomites aren’t dramatic falls. They’re minor joint tweaks, an ankle rolled on loose rock, a knee that starts protesting on hour 3 of a long downhill – that get progressively worse over subsequent days if you don’t manage them.
Dolomites trails are hard on knees and ankles. Long descents on uneven, blocky limestone adding cumulative stress on joints that flat-terrain hiking simply doesn’t replicate. Having wrap and tape means you can stabilize a minor sprain enough to descend carefully to the nearest road or rifugio rather than waiting for rescue.
What to carry:
- Elastic wrap (ACE-style) or cohesive self-adhesive wrap
- Strong tape roll — doubles for blister care, so it earns its weight
- Two safety pins for securing wrap ends
If you can’t bear weight on a joint after a fall or roll, don’t push it. That’s when you signal for help rather than attempt to walk out. The wrap and tape are for minor tweaks, not serious injuries.
Emergency and Exposure Essentials: Preparing for Afternoon Weather
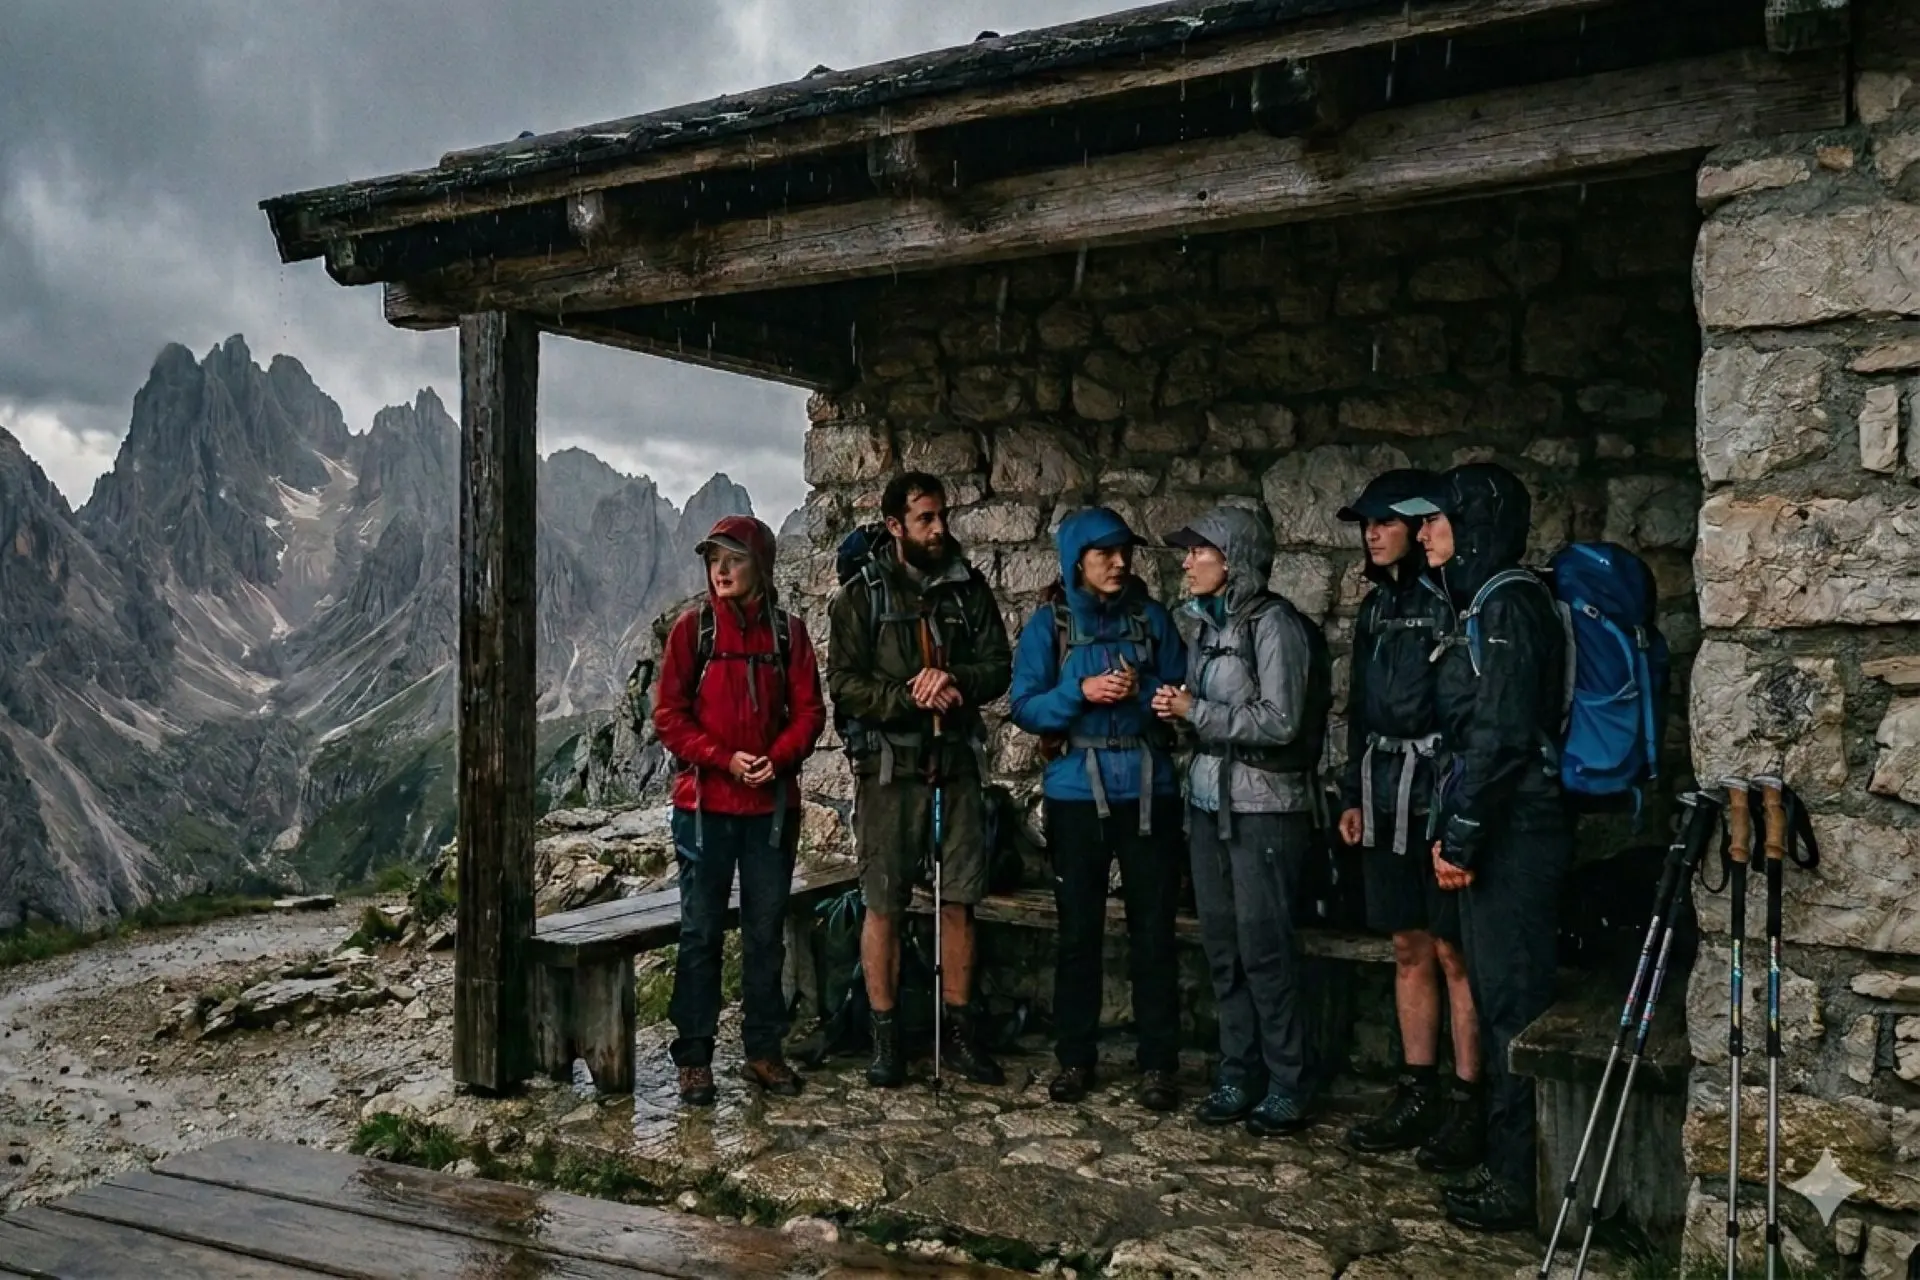
Dolomites mornings are often picture perfect – clear skies, crisp air, visibility to Austria! By early afternoon, dark thunderheads can stack over the peaks with startling speed. Temperatures drop sharply once you stop moving, especially on exposed ridgelines where wind chill is significant.
None of this should catch you off guard if you check the forecast, but it’s worth having physical backup for when conditions develop faster than expected. Meteotrentino publishes daily alpine forecasts with mountain-specific bulletins; checking it each morning before you set off takes about two minutes and is worth building into your routine.
What to carry:
- Emergency foil blanket or compact bivvy – for trapping body heat during forced stops on exposed terrain
- Headlamp – daylight can disappear quickly in steep valley terrain if a weather delay extends your day
- Nitrile gloves – medical PPE plus emergency finger insulation
- Small whistle – for signaling if visibility drops to near zero in thick cloud or fog
On lightning specifically: If thunder is audible, descend from ridges and exposed terrain immediately. Don’t shelter under isolated trees. Seek lower ground, spread out from other hikers, crouch with feet together if caught fully exposed, and only use your foil blanket for warmth once you’ve reached shelter. This is a serious hazard in the Dolomites in summer – not a scenario to improvise.
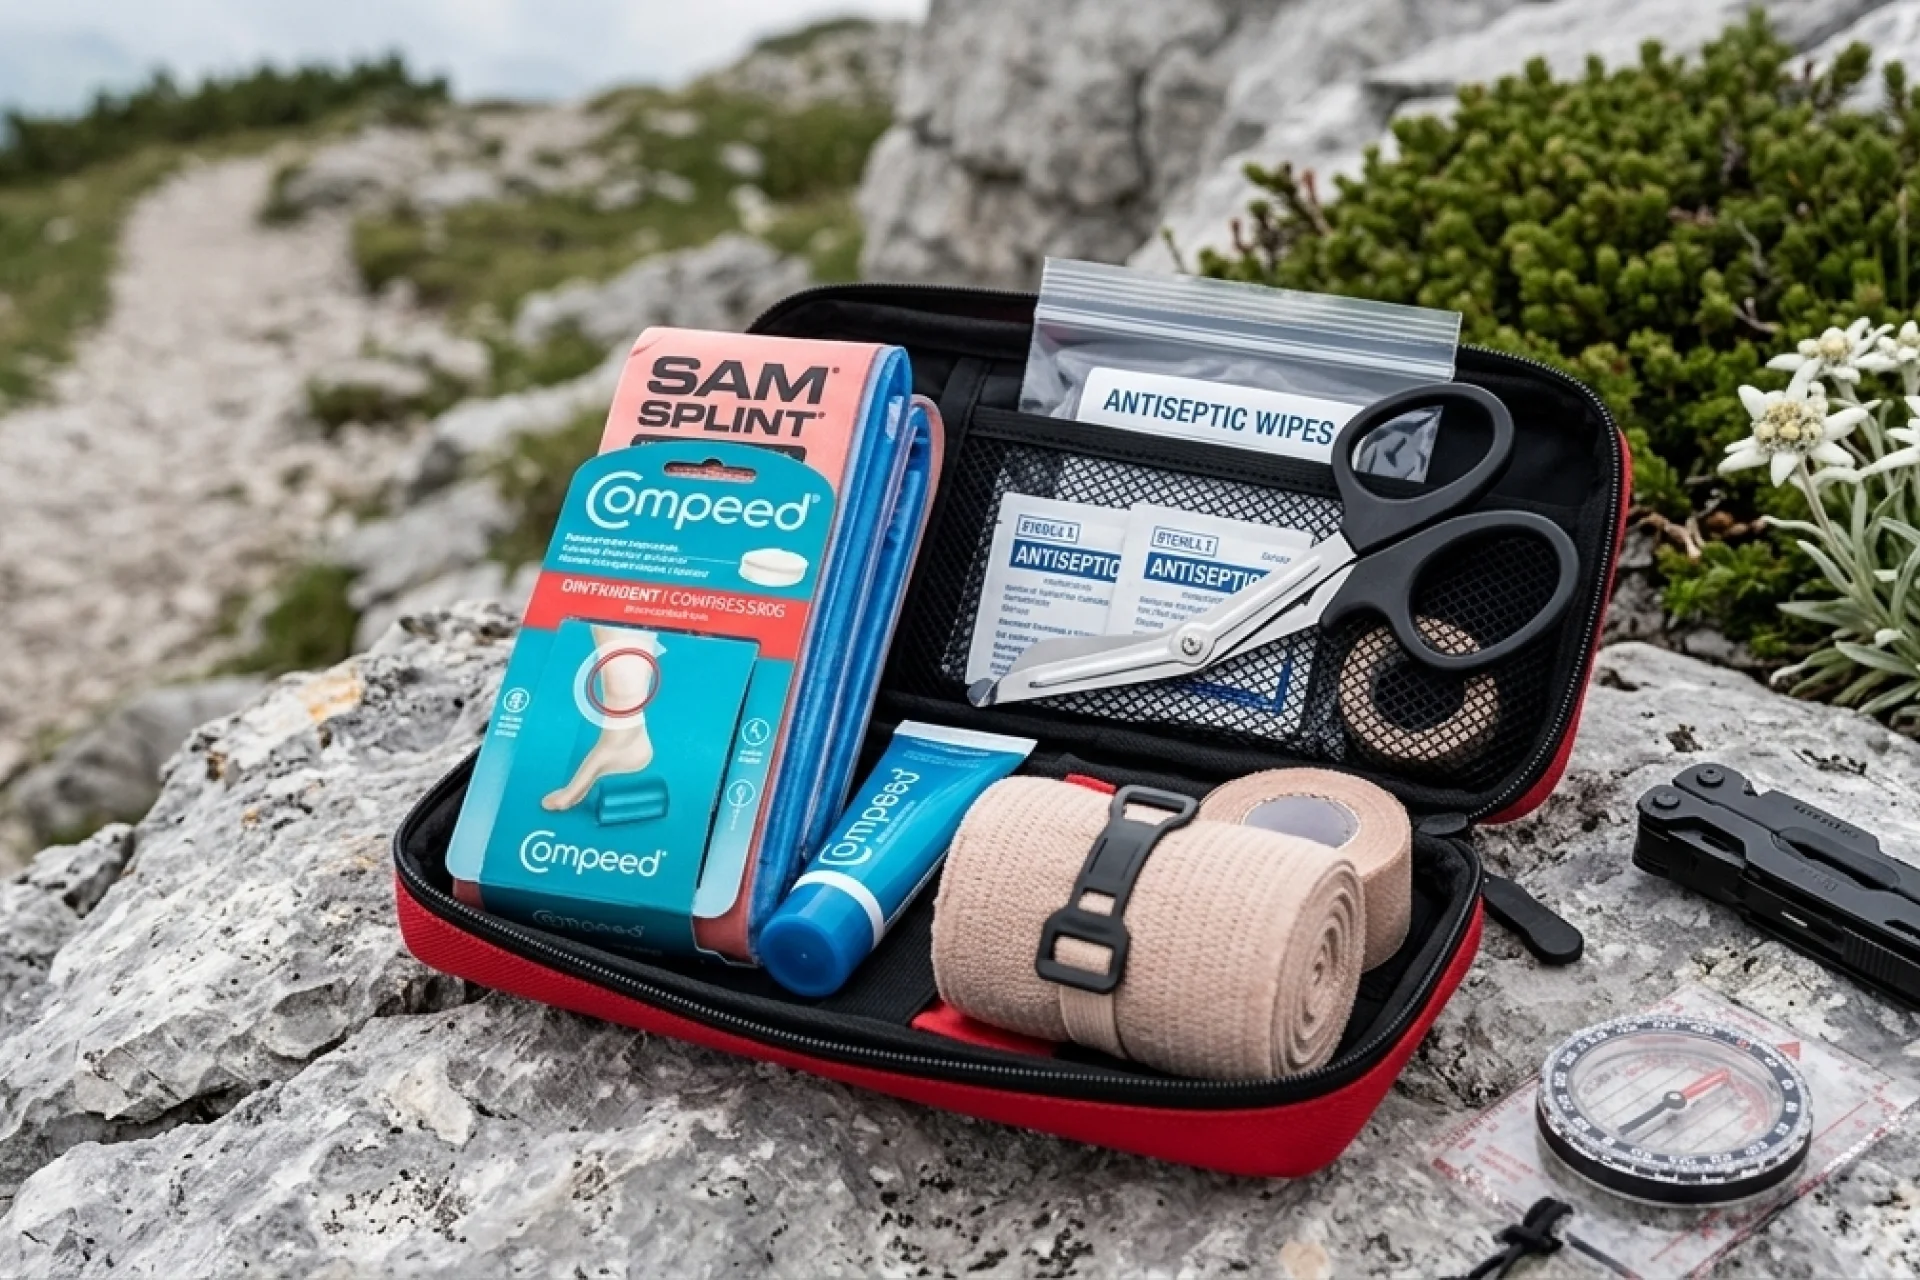
Building Your Kit: A Practical Workflow
Rather than buying a pre-made kit and hoping it covers everything, build yours in tiers based on your route type.
Tier 1 — Core Base Kit: Bandages in mixed sizes, antiseptic wipes, sterile gauze, medical tape, nitrile gloves, paracetamol, and ibuprofen. This is the foundation regardless of where you’re hiking.
Tier 2 — Dolomites Alpine Additions: Zinc oxide tape, hydrocolloid blister plasters, moleskin, electrolyte sachets, emergency foil blanket, tick tool, SPF reapplication stick. These address the specific demands of high-altitude limestone terrain.
Tier 3 — Via Ferrata Extension: Heavy-duty finger tape, extra palm dressings, pre-cut K-tape, leather-palmed gloves. Add these only when your itinerary includes protected climbing routes.
Scale to your support level: On a guided DAT tour, your certified mountain guide carries a comprehensive group kit. Your personal supplies should focus on quick self-care, foot maintenance, personal medications, and sun protection.
Self-guided hikers need higher redundancy across all categories, particularly wound care and blister management. The first aid kit sits within your broader pack; the complete day hiker’s packing list for the Dolomites covers what else goes in the rucksack alongside it. Our self-guided hut-to-hut packages include daily stage notes and local phone support, so you’re never making logistics decisions alone when something goes wrong mid-route.
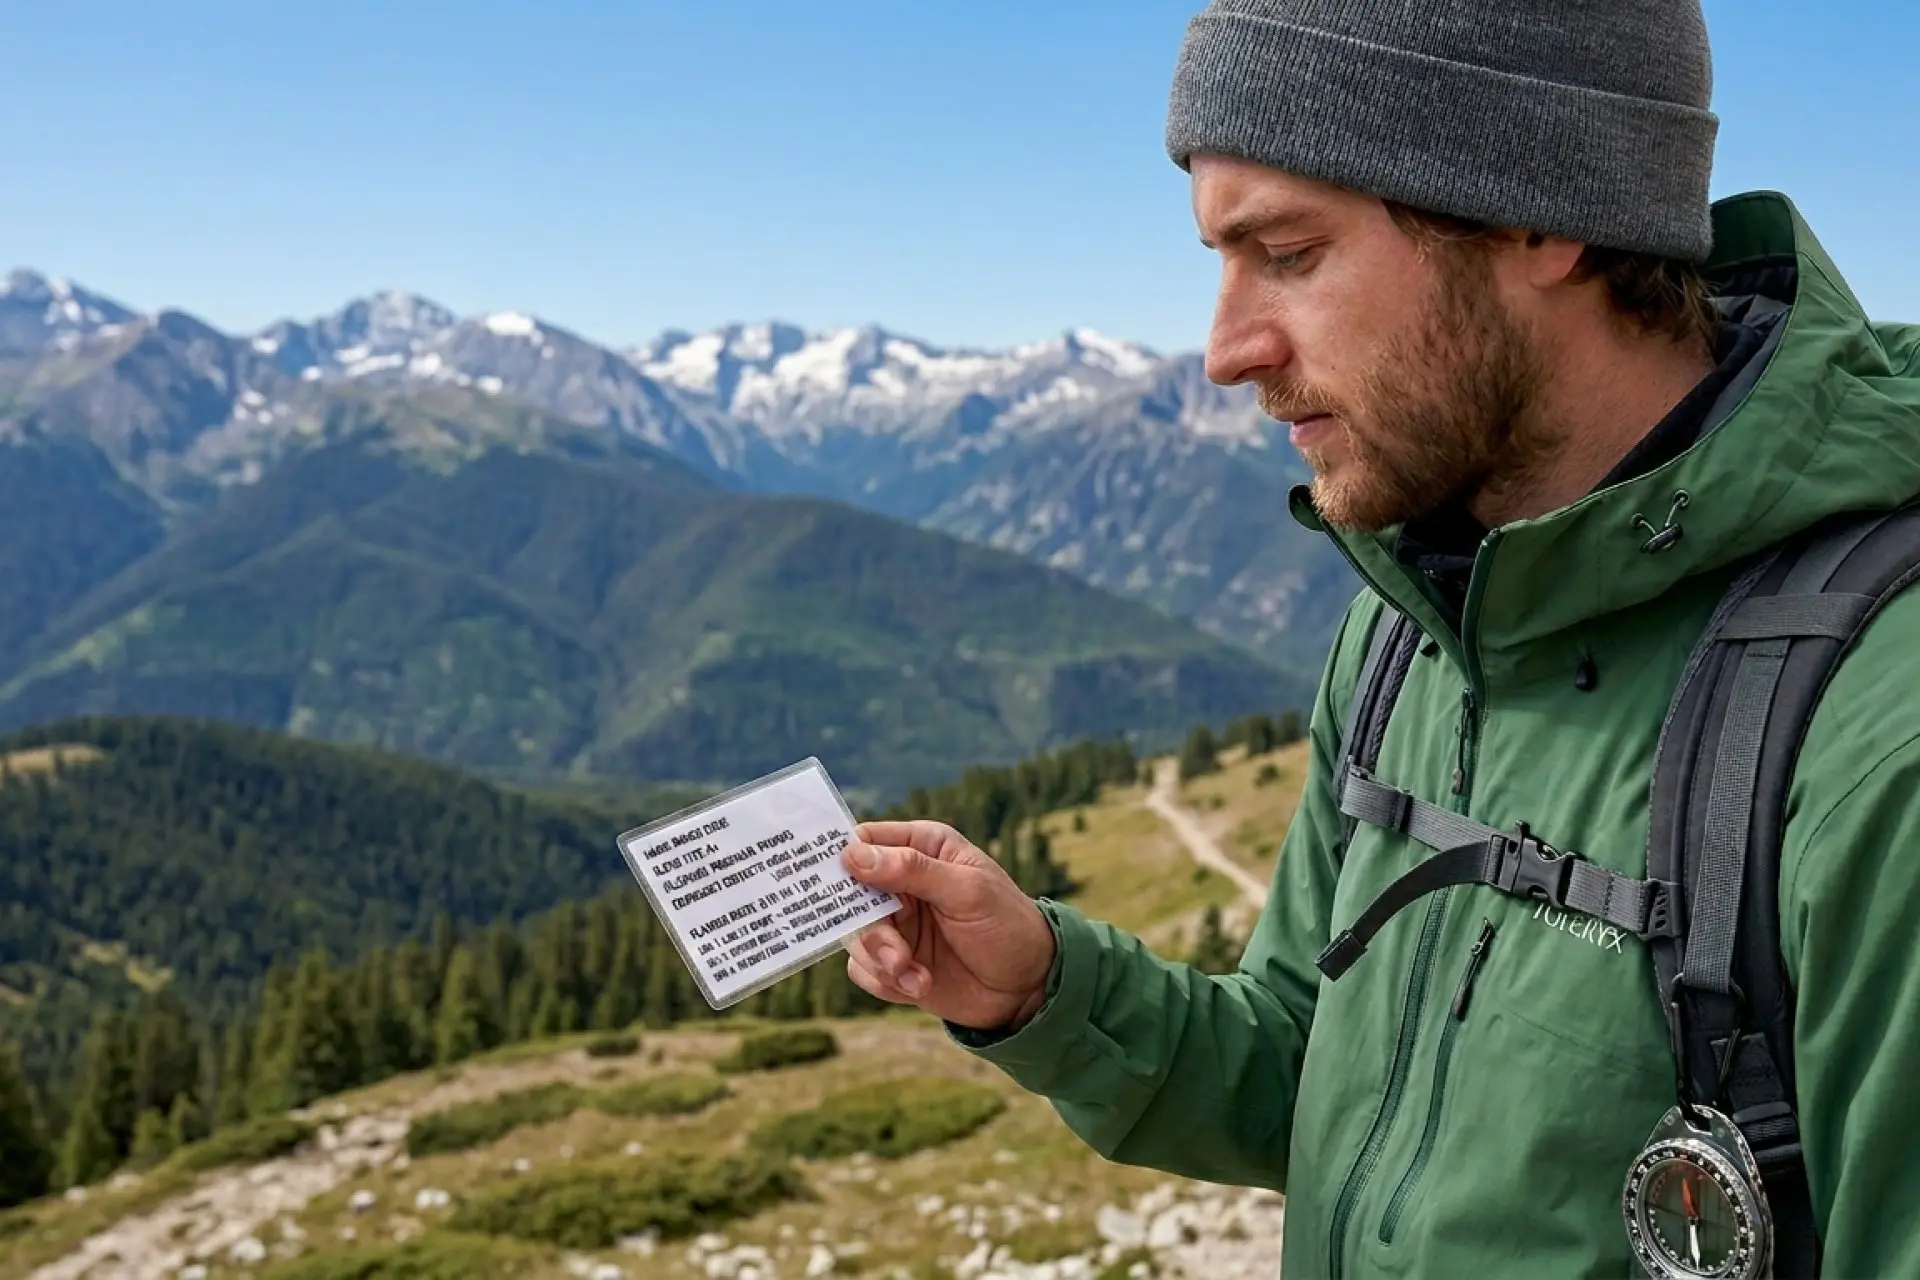
Emergency preparation – do this before you leave home:
Laminate a small card with your name, blood type if known, allergies, emergency contacts, and your planned route, including trail numbers and rifugio names. Program 112 as your primary emergency number — this is the universal number in Italy that coordinates all response agencies, including mountain rescue. 118 is the dedicated medical line, but 112 is the universal coordinator. In the Dolomites, calling 112 connects you to a multi-language dispatch center that will connect you to the correct service, including, if necessary, the service specializing in mountain rescue logistics.
Download the 112 Where ARE U app before you set off – it transmits your GPS coordinates to emergency services, which is invaluable on trails with limited landmarks.
**Note that coverage currently includes Trentino-Alto Adige but not Veneto – if your route passes through the Veneto Dolomites (Cortina, Tre Cime, Lago di Sorapis area), verify the current coverage map before relying on it.**
Note on insurance: Mountain rescue in Italy is not reliably free. Helicopter evacuations can exceed €14,000. Standard travel insurance frequently excludes mountain rescue or helicopter emergency medical service (HEMS) coverage. Check your policy explicitly before you travel; “adventure activities” coverage often has altitude or activity-type exclusions buried in the small print.
Not sure how to structure a self-guided route that keeps you within range of a mountain hut at the end of every stage? Drop us a WhatsApp – we plan these routes every season and can point you toward the right itinerary for your fitness level and experience.
View Posts By Topic
FAQ
A pre-made kit is a useful starting point, but standard versions almost always lack Dolomites-specific essentials. You’ll need to add zinc oxide tape, hydrocolloid blister plasters, electrolytes, and a tick removal tool at a minimum.
Don’t count on it! Most rifugi keep basic items for genuine emergencies, but they’re mountain huts, not pharmacies. Your kit needs to cover everything required for daily trail maintenance, particularly foot care and personal medications, because the hours between huts are when problems develop. Rifugio staff are generally knowledgeable and helpful, but they can’t replace your own preparation.
Call 112. It’s the universal emergency number in Italy and the one that coordinates all response agencies, including mountain rescue. 118 is the dedicated medical line and also works, but 112 will connect you to the right service. Keep both numbers on your emergency card, but 112 is your primary.
A well-edited Dolomites kit, core base plus alpine additions, typically runs 300-450 grams. That’s roughly the weight of a half-litre water bottle. The weight is non-negotiable on mountain terrain where the nearest help is hours away, but you can trim it by using single-use antiseptic wipes instead of bottles, decanting sunscreen into small containers, and skipping items with low utility for your specific route type.